The holiday season is just around the corner, and what better way to celebrate than by adding a touch of DIY charm to your Christmas decorations? If you’re a beginner in the world of wood burning, fear not! We’ve gathered 16 Simple Christmas Wood Burning Ideas for Beginners that will add warmth and personal flair to your holiday decor. Let’s dive into these simple Christmas wood burning projects that even beginners can master.
[This post may contain affiliate links. What does that mean to you? Well, if you click on a product and make a purchase, I may get some compensation from you at no charge. If you want to read the boring stuff my full disclosure can be found here.]
DIY Christmas Wood Burning Ideas for Beginners
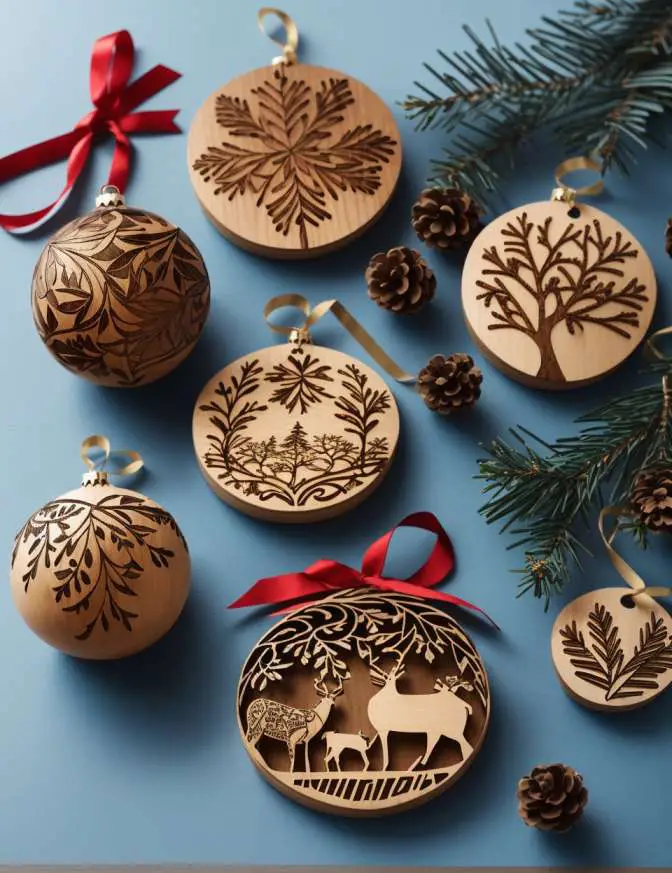
1. Rustic Wooden Ornaments
Materials:
- Wooden ornaments (stars, trees, snowflakes, or other shapes)
- Fine-tip wood burning tool
- Ribbon for hanging
Instructions:
- Begin by acquiring or cutting out wooden ornament shapes. You can find these at a craft store or create your own by cutting thin wooden sheets into desired shapes.
- Sand the wooden ornaments to ensure they have a smooth surface for wood burning.
- With your fine-tip wood burning tool, carefully create intricate designs on the wooden ornaments. Popular choices include snowflakes, holly leaves, or simple holiday messages like “Joy” or “Noel.”
- Once you are satisfied with your wood burning, allow the ornaments to cool completely.
- Attach a ribbon to each ornament for hanging. Ensure it’s securely tied.
- Your rustic and personalized Christmas ornaments are ready to adorn your tree or home decor.
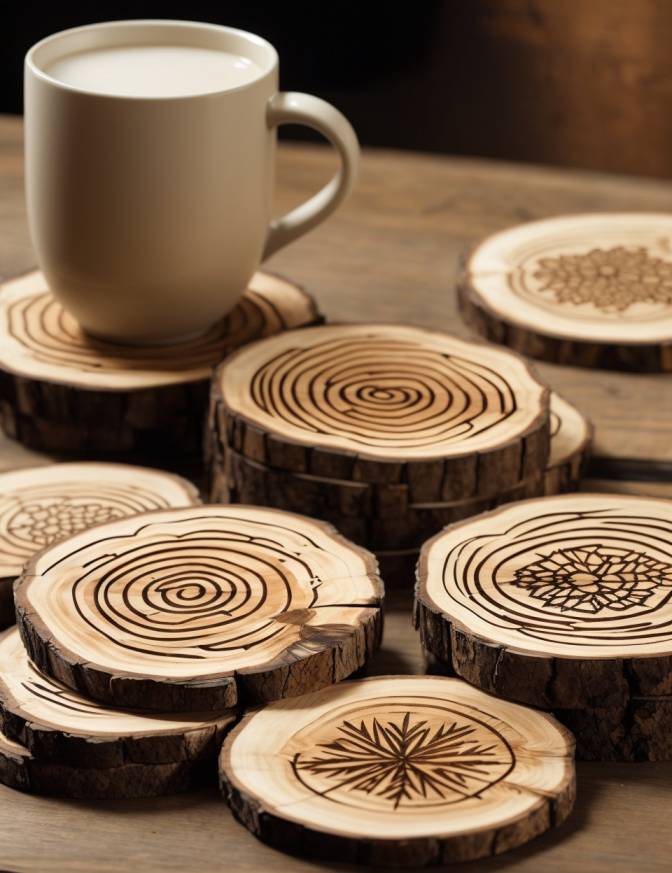
2. Cozy Log Slice Coasters
Materials:
- Log slices
- Sandpaper or a sander
- Wood burning tool
- Clear varnish
Instructions:
- Gather log slices. You can often find these at craft stores or create your own by cutting logs into even slices.
- Sand the log slices until they have a smooth surface, removing any rough edges or splinters.
- Use your wood burning tool to create festive designs on the log slices. Consider patterns like snowflakes or holly leaves. Be creative with your designs.
- Allow the wood burning to cool completely.
- Apply a coat of clear varnish to the log slices to protect the wood and give them a finished look.
- Once the varnish has dried, your log slice coasters are ready to use and display.
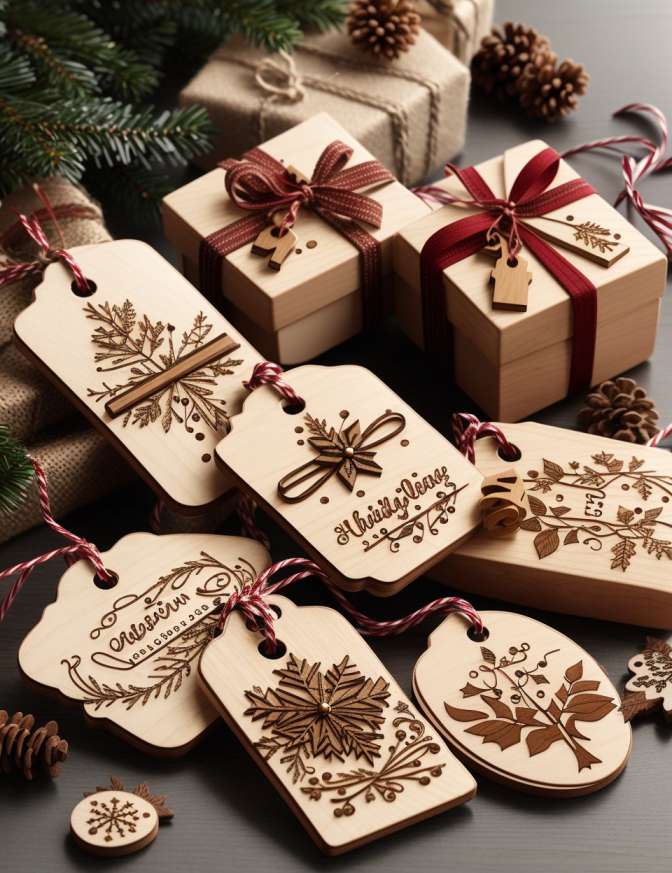
3. Personalized Wooden Gift Tags
Materials:
- Thin plywood or craft wood
- Wood burning tool
- Ribbon or twine
Instructions:
- Cut small rectangles or other desired shapes from thin plywood or craft wood. These will serve as your gift tags.
- Use the wood burning tool to personalize each tag. You can wood burn names, holiday greetings, or festive symbols like snowflakes or Christmas trees.
- Allow the wood burning to cool completely.
- Attach a ribbon or twine to each tag, making sure it’s securely tied.
- Your unique and personalized wooden gift tags are ready to embellish your presents.
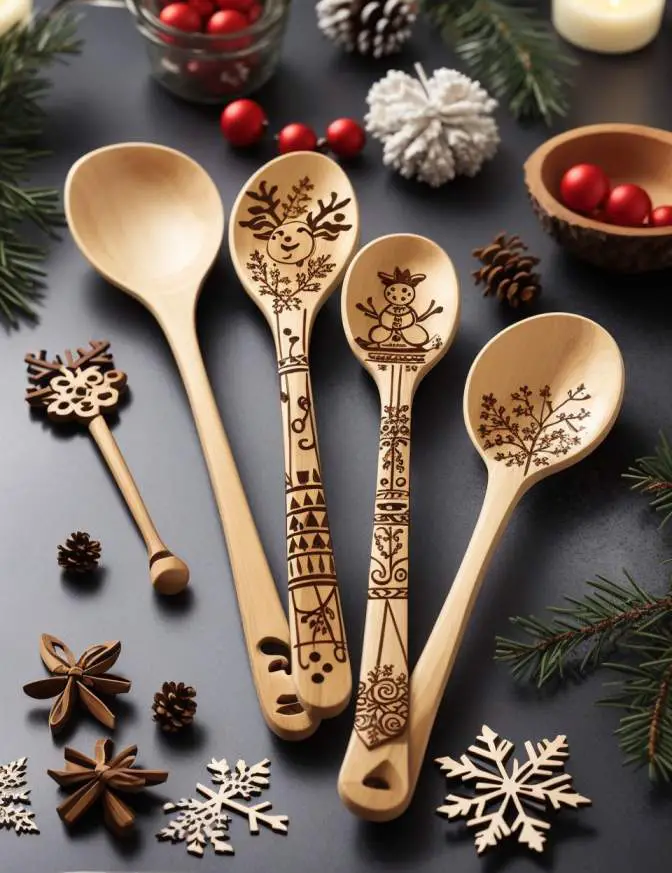
4. Christmas-themed Wooden Spoons
Materials:
- Plain wooden spoons
- Wood burning tool
- Pencil (for sketching designs, if desired)
- Sandpaper
- Clear varnish (optional)
Instructions:
- Begin with plain wooden spoons. You can find these at most kitchen supply stores or online.
- If you have a specific design in mind, you can sketch it lightly on the wooden spoons with a pencil.
- Using your wood burning tool, carefully trace and fill in your chosen holiday motifs like snowmen, reindeer, or Christmas trees. Take your time to ensure precision.
- Allow the wood burning to cool completely.
- Optionally, apply a coat of clear varnish to protect the wood and add a finished look to your decorated wooden spoons.
- Your festive wooden spoons are now ready for use in the kitchen or as thoughtful gifts.
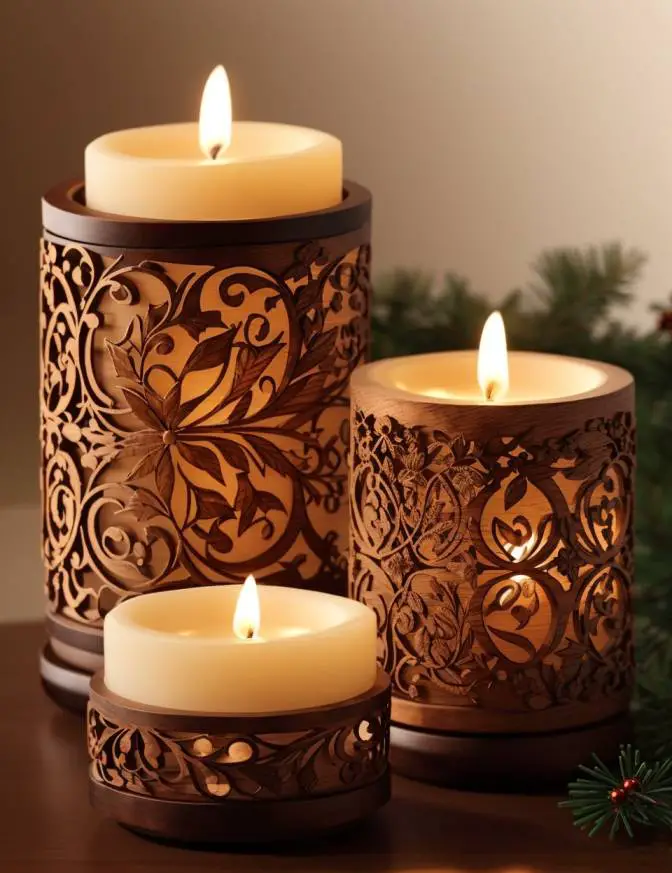
5. Customized Wooden Candle Holders
Materials:
- Wooden candle holders
- Wood burning tool
- Tealight or pillar candles
Instructions:
- Begin with wooden candle holders, which can be found at craft stores or online.
- Use your wood burning tool to create intricate designs such as snowflakes, holly, or other festive motifs on the wooden candle holders. Take care to create precise and appealing patterns.
- Allow the wood burning to cool completely.
- Place tealight or pillar candles in the customized wooden candle holders.
- Light the candles and enjoy the warm and cozy holiday ambiance they create.
Tips for Wood Burning:
- Practice on spare wood pieces before working on your actual projects to get a feel for your wood burning tool and develop your technique.
- Keep a steady hand and move the tool slowly for clean and precise lines.
- Experiment with different wood burning tips (e.g., fine point, shading tip) to create various effects.
- Work in a well-ventilated area, and consider using a mask or respirator to protect against wood smoke and fumes.
- Always follow safety guidelines and instructions provided with your wood burning tool.
Additional Wood Burning Ideas:
6. Wooden Christmas Tree Decorations:
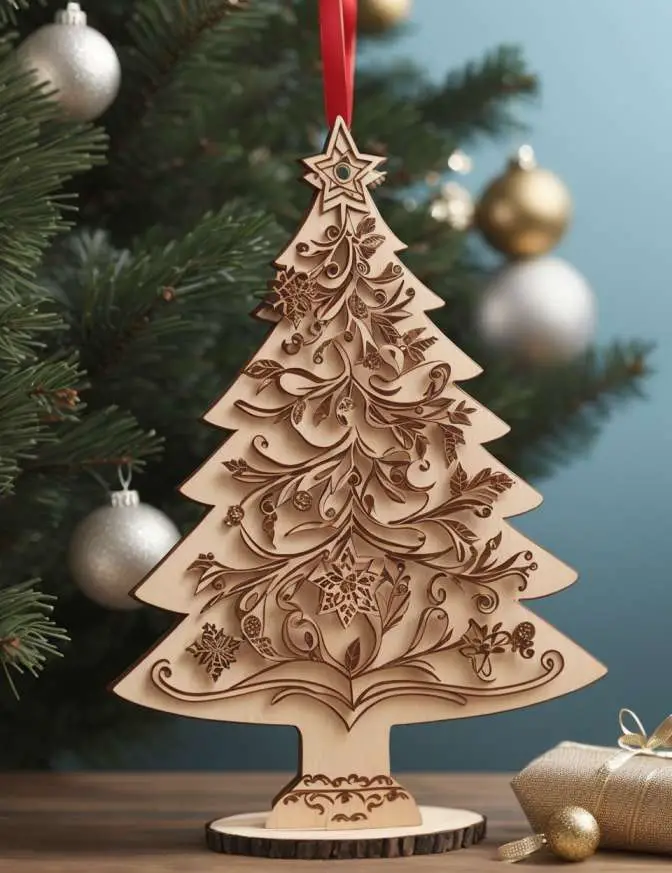
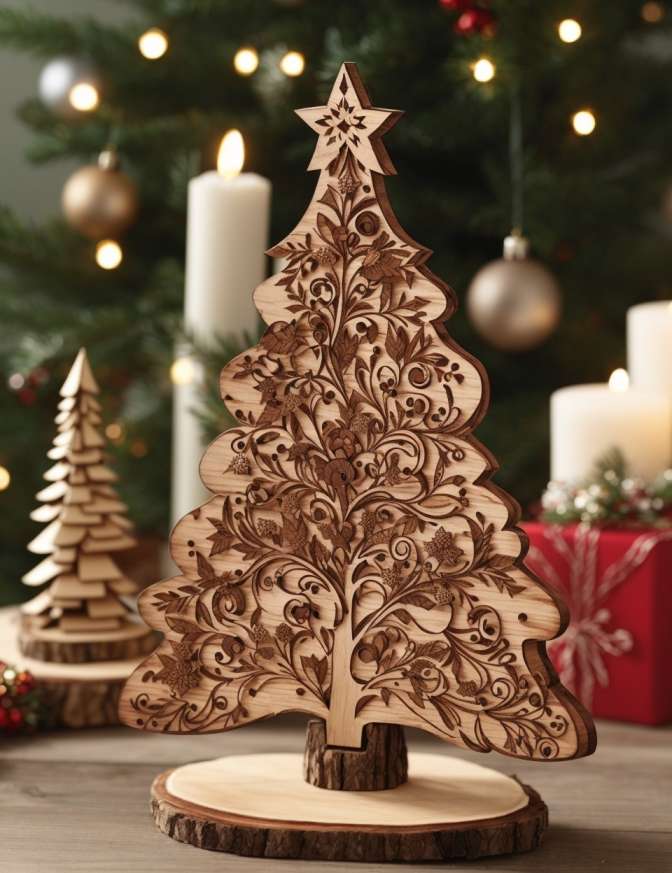
- Create wooden Christmas tree decorations in various shapes like stars, hearts, or bells.
- Wood burn festive designs or holiday messages on each decoration.
- Hang them on your tree or use them to decorate wreaths and garlands.
7. Wooden Snowflake Coasters:
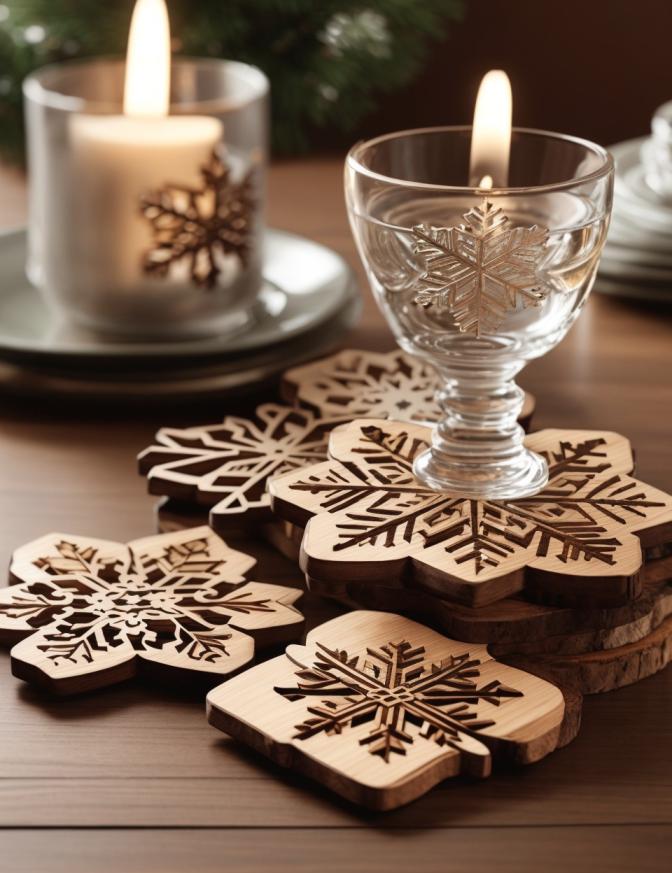
- Make wooden snowflake-shaped coasters and wood burn intricate snowflake patterns on them.
- These coasters will add a wintry touch to your holiday table.
8. Wooden Christmas Wall Art:
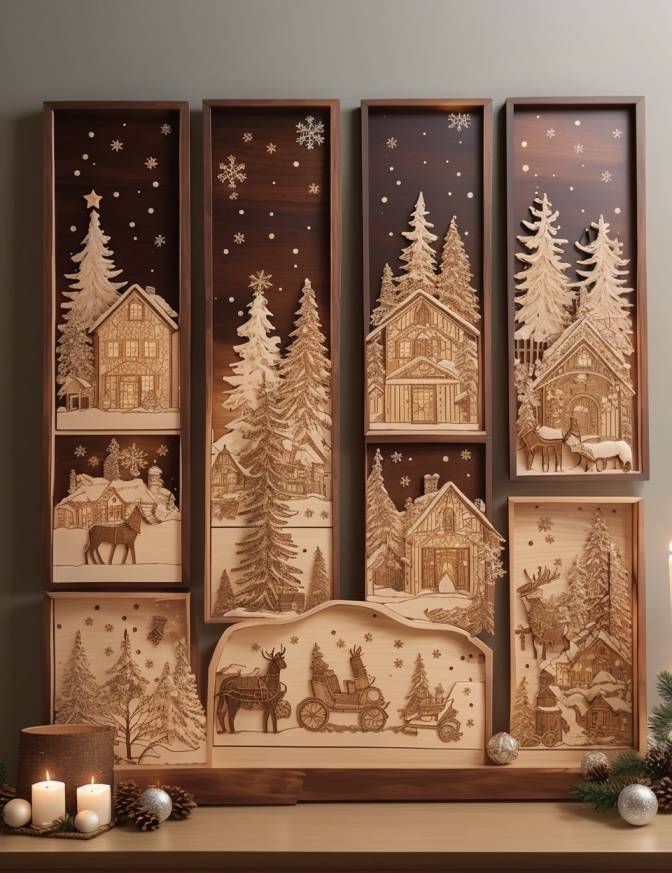
- Craft large wooden panels and create wood-burned holiday scenes or quotes.
- Hang these pieces as wall art to transform your space into a winter wonderland.
9. Wooden Gift Tags with Miniature Ornaments:
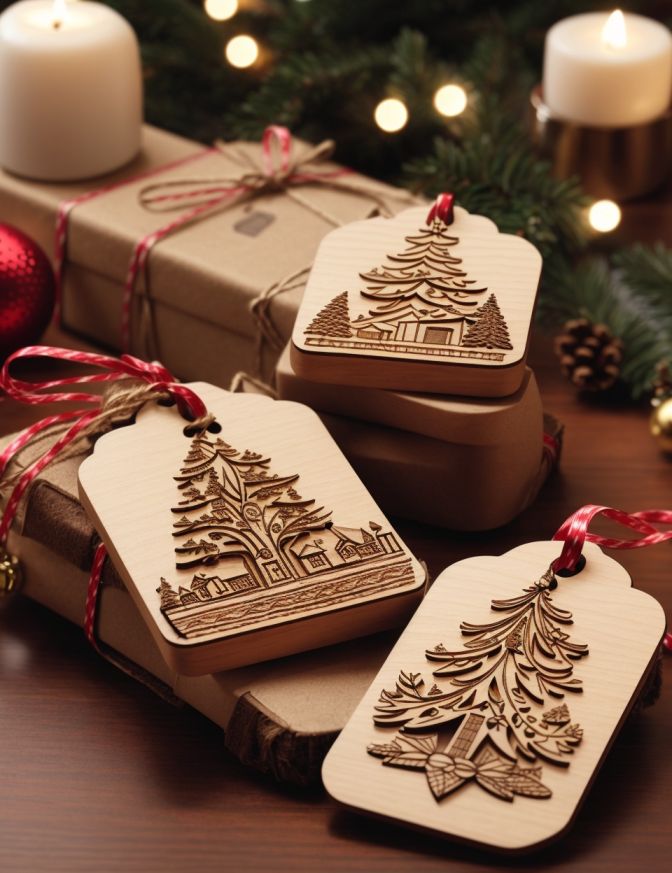
- Create wooden gift tags as mentioned earlier, but add miniature wooden ornaments as embellishments.
- Glue or tie these small wooden ornaments to the tags for an extra festive touch.
10. Wooden Reindeer Decor:
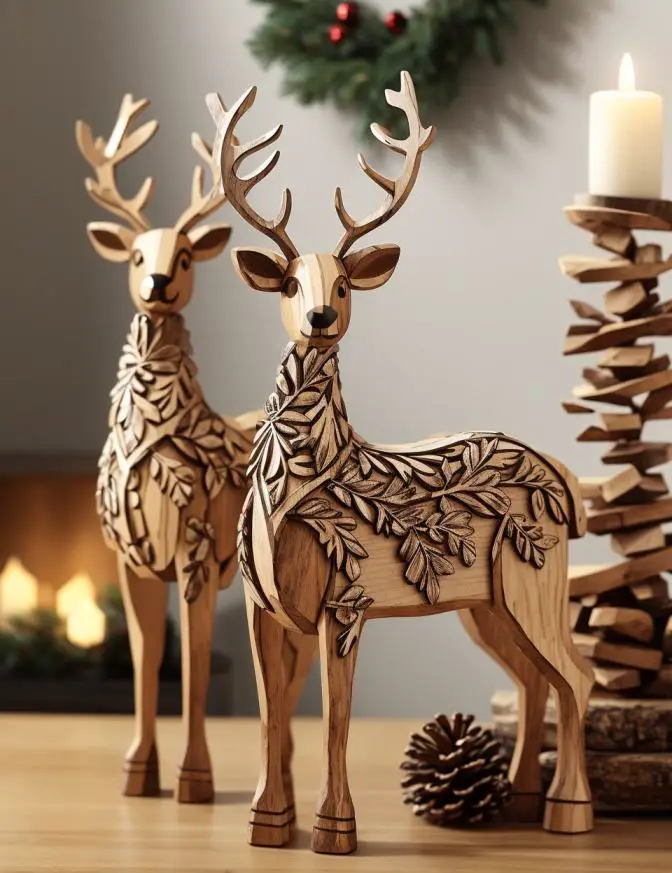
- Craft wooden reindeer figurines or ornaments.
- Wood burn details like antlers, eyes, and noses to bring these reindeer to life.
- Display them on your mantle or use them as part of your table centerpiece.
11. Wooden Sled Ornament:
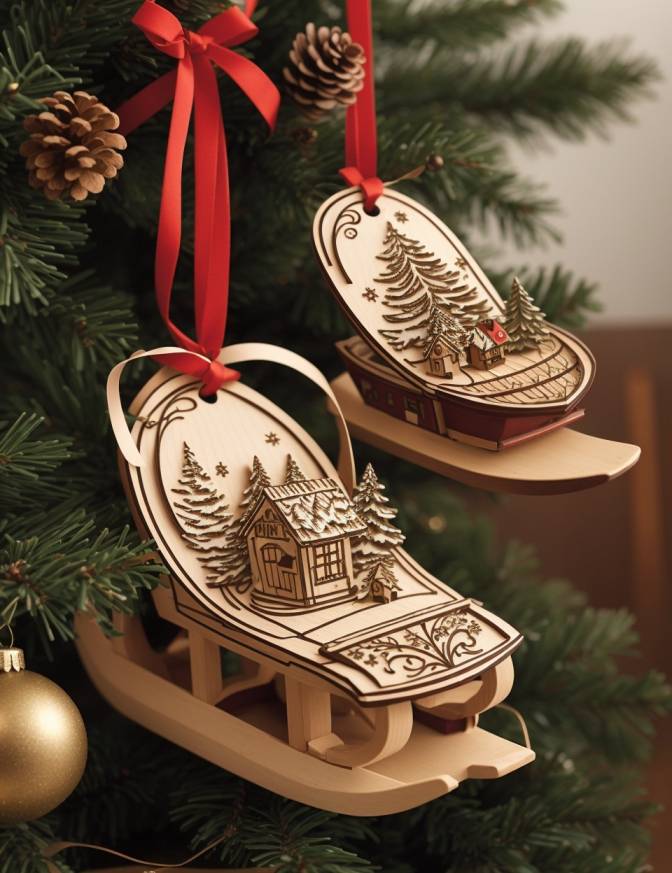
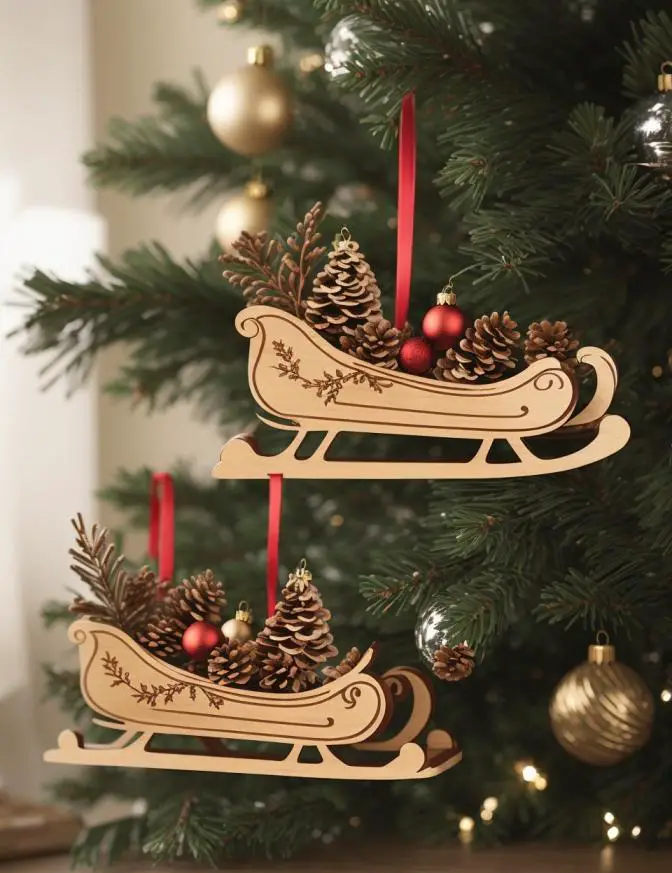
- Craft miniature wooden sleds and add wood-burned details like sled runners and festive designs.
- Hang these sled ornaments on your tree or use them in your holiday displays.
Read More-
- 20 DIY Christmas Centerpiece Ideas for your Table in 2023
- 20 Creative DIY Handmade Ornament Ideas for Christmas Tree
12. Wooden Nativity Scene:
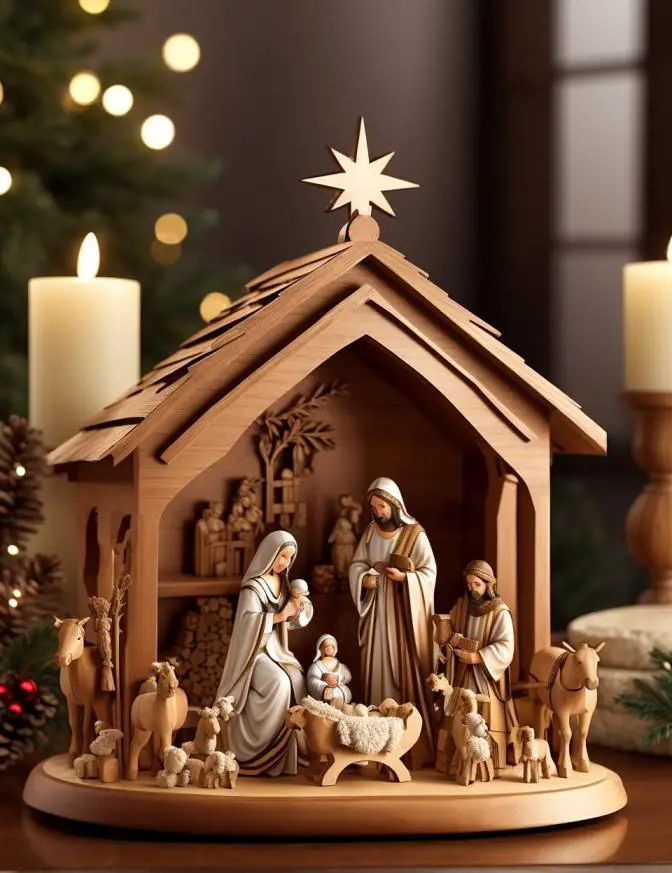
- Create a wooden nativity scene with figurines of Mary, Joseph, and the baby Jesus, as well as the stable.
- Wood burn intricate details on each figure and the stable for a meaningful Christmas centerpiece.
13. Wooden Snowman Family:
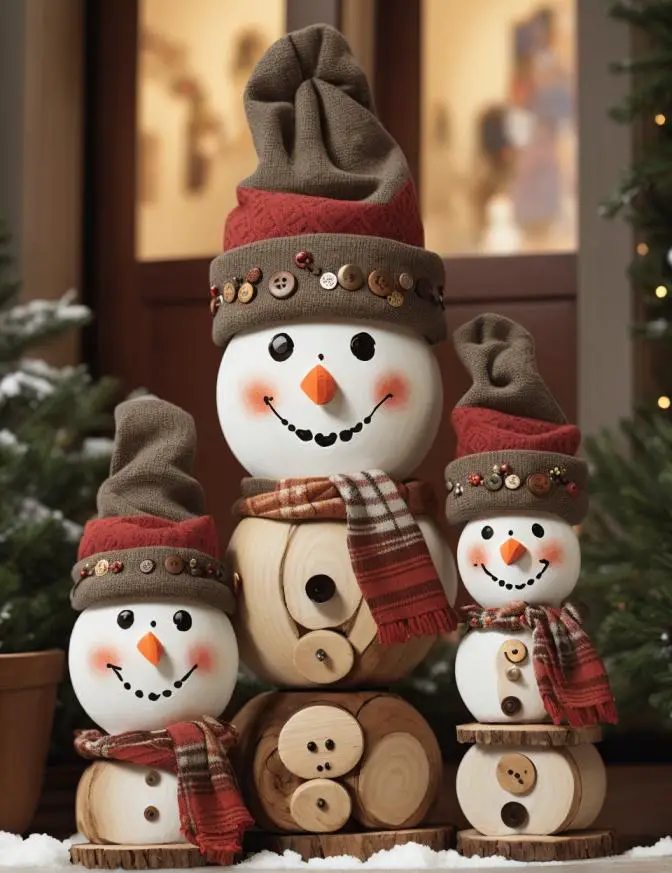
- Craft a wooden snowman family by stacking wooden discs of different sizes.
- Use your wood burning tool to create snowman faces, scarves, and buttons on each disc.
- Display this adorable snowman family indoors or in your front yard.
14. Personalized Christmas Puzzles:
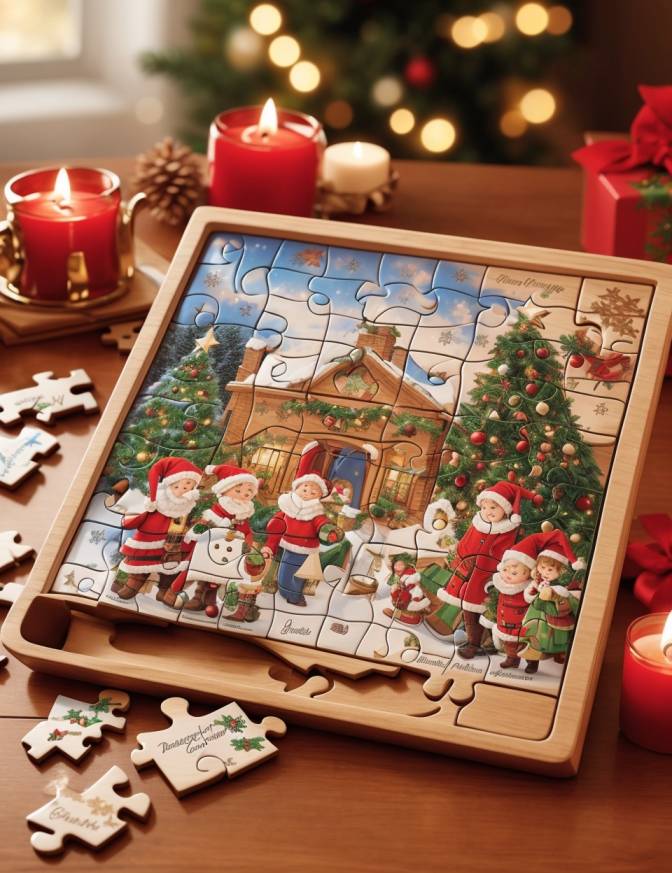
- Craft wooden puzzle pieces with wood-burned holiday images or messages.
- Create a set of personalized Christmas puzzles for family fun during the holiday season.
15. Wooden Wreath Decorations:
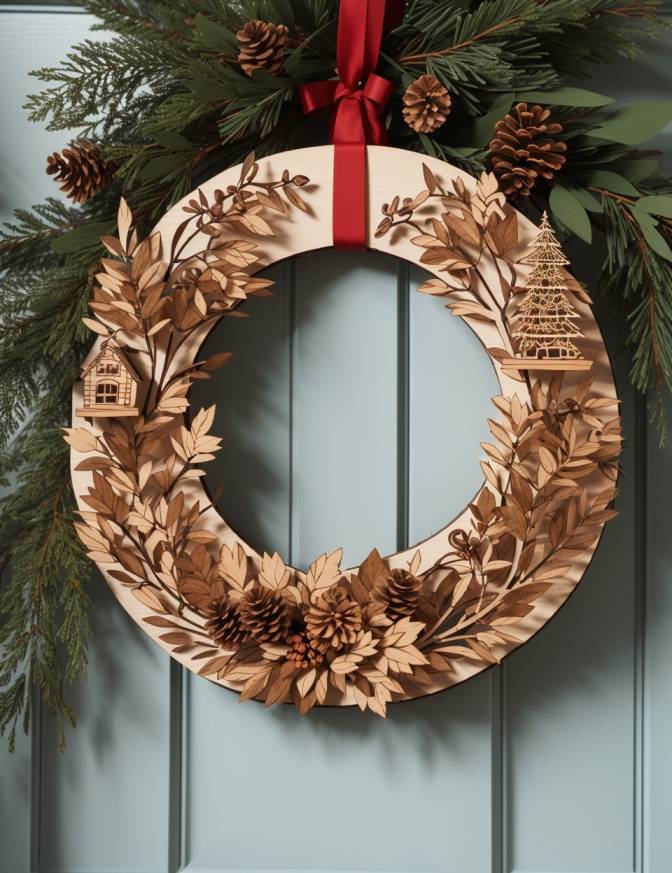

- Make wooden wreath decorations with miniature wood-burned ornaments and festive greenery.
- Hang these wreaths on your front door, windows, or walls to welcome guests.
16. Wooden Bell Ornaments:
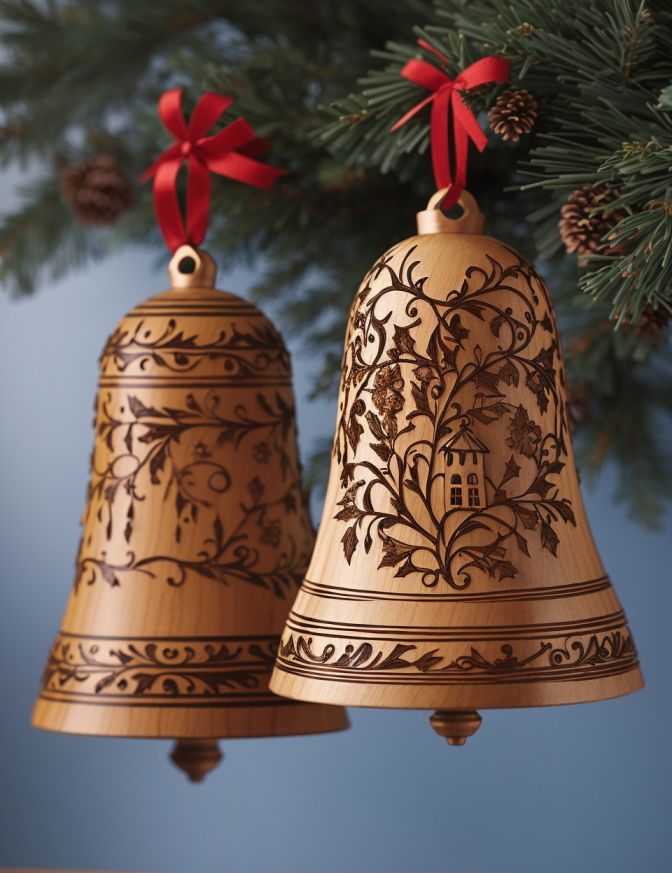
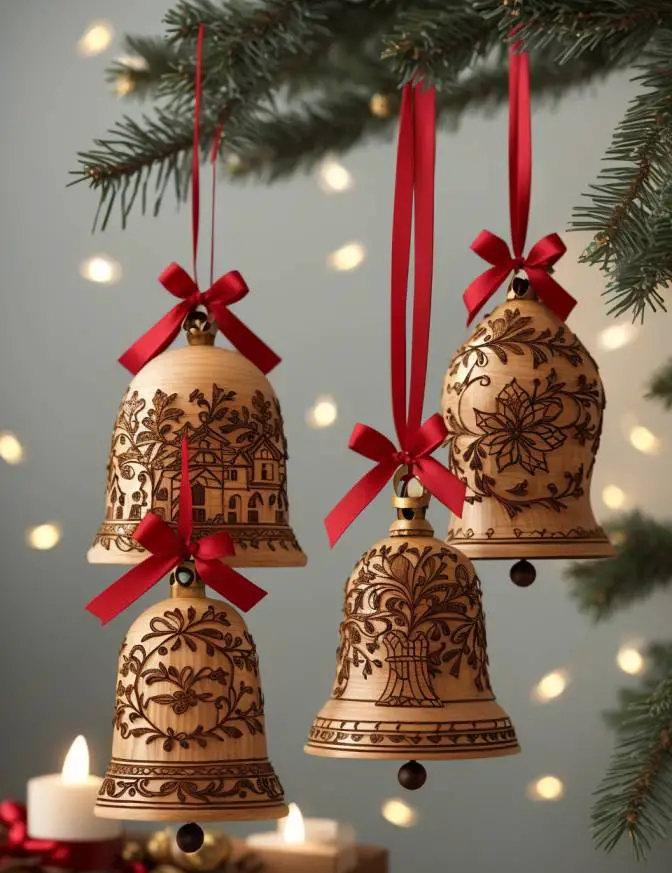
- Craft wooden bell-shaped ornaments and wood burn intricate designs or holiday messages.
- Hang these bell ornaments on your tree or use them as decorations around the house.
FAQs (Frequently Asked Questions)
1. What is wood burning, and how does it work for Christmas crafts?
Wood burning, also known as pyrography, is a technique of decorating wood by burning designs into its surface with a specialized tool. It’s a creative way to add intricate designs to wooden Christmas crafts.
2. What safety precautions should I take when using a wood burning tool?
Ensure good ventilation, wear safety glasses, and work on a heat-resistant surface. Be cautious of the hot tip and handle the tool with care to avoid burns.
3. Can I use any type of wood for wood burning projects?
It’s best to use softwoods like pine, cedar, or birch for wood burning projects as they are easier to work with. Hardwoods can be challenging for beginners.
4. What can I make with wood for Christmas?
You can create a wide range of Christmas-themed items with wood, such as ornaments, coasters, candle holders, signs, gift tags, wooden spoons, and decorative figurines.
5. How do you burn wood for beginners?
Start by selecting a softwood like pine, practice on spare wood, sketch your design lightly with a pencil, and use a wood burning tool with a fine tip. Begin with basic designs and gradually work your way up to more complex patterns.
6. How to make designs for wood burning?
You can find pre-made stencils or design templates online. Alternatively, sketch your design freehand on the wood or transfer a printed image onto the wood for reference.
7. Should I wet wood before burning?
It’s not necessary to wet wood before burning when using a wood burning tool. In fact, it’s better to work with dry wood for clean and precise burns.
Conclusion:
Wood burning is a versatile and rewarding craft, and these simple Christmas wood burning ideas are perfect for beginners looking to add a personal touch to their holiday decor. With a wood burning tool, some creativity, and a little practice, you can create beautiful and unique decorations that will become treasured pieces in your home. Get ready to craft your way to a joyful and festive Christmas season!
